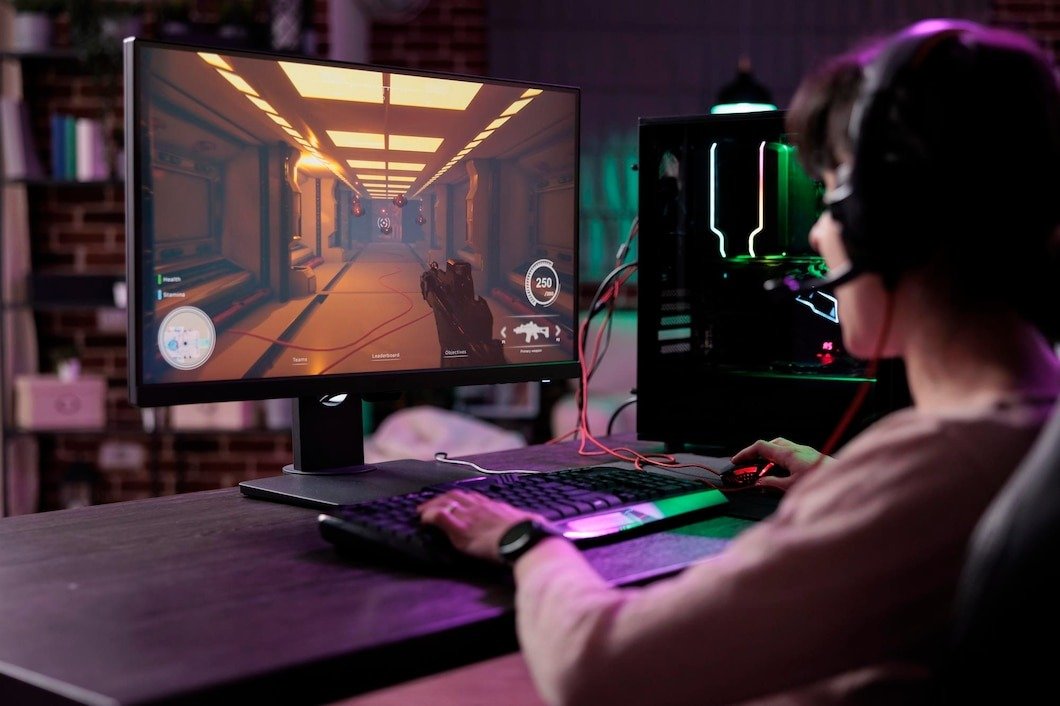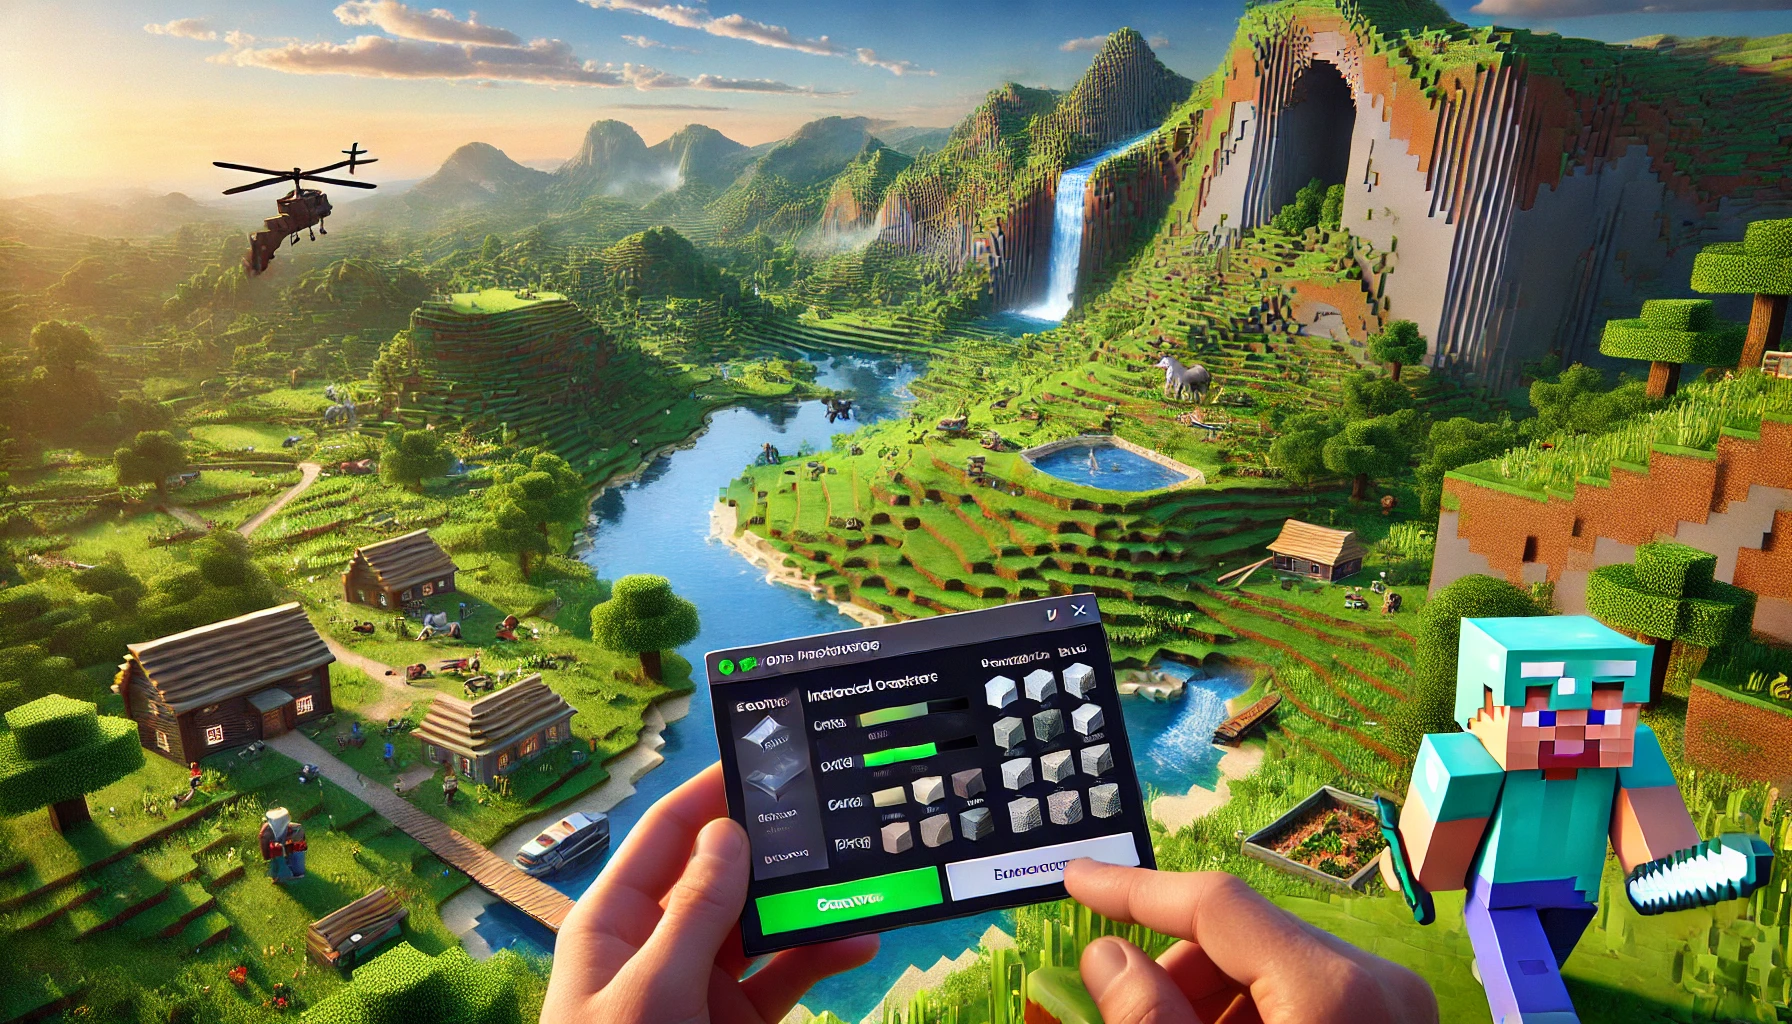
Minecraft is one of the most popular sandbox games in the world, and installing mods can significantly enhance your gaming experience. Mods allow players to introduce new features, graphics, weapons, and gameplay mechanics, making the game more exciting. If you want to install Minecraft mods but don’t know how, this comprehensive guide will walk you through the entire process.
Why Install Minecraft Mods?
Mods can transform your Minecraft world into something entirely different. Whether you want better graphics, automation, new biomes, or improved AI, mods can help you achieve that. Here are some key reasons why players install Minecraft mods:
- Enhancing gameplay: Mods introduce new features that make the game more engaging.
- Adding new content: From new mobs and tools to weapons and skins, mods can change everything.
- Improving graphics: Some mods enhance textures, lighting, and animations for better visuals.
- Automation and efficiency: Mods like Redstone automation and farming tools make survival easier.
Quick Facts About Minecraft Mods
- Mods can change core game mechanics.
- Most mods require a mod loader like Forge or Fabric.
- Minecraft Java Edition supports mods better than Bedrock Edition.
- Always download mods from reputable sources to avoid malware.
How to Install Minecraft Mods (Step-by-Step)
Step 1: Choose the Right Mod Loader
Before installing Minecraft mods, you need a mod loader. The two most common ones are:
Forge
- Most widely used for modding.
- Supports large modpacks.
- Compatible with older and newer versions of Minecraft.
Fabric
- Lightweight and optimized.
- Updates faster than Forge.
- Requires additional API for some mods.
Choose the mod loader that best suits your needs and proceed to the installation process.
Step 2: Install Forge or Fabric
Installing Forge
- Visit the official Forge website and download the latest version compatible with your Minecraft edition.
- Open the downloaded file and select “Install Client.”
- Launch Minecraft and ensure that Forge appears in the game version list.
Installing Fabric
- Download the Fabric installer from the official website.
- Open the installer, select “Minecraft version” and click install.
- Open Minecraft Launcher, select “Fabric Loader” as your version.
Step 3: Download Minecraft Mods
Once you have installed Forge or Fabric, it’s time to download mods.
How to Choose the Right Mods
- Check mod compatibility with your Minecraft version.
- Read user reviews to ensure stability.
- Only download mods from reputable sites to avoid viruses.
After downloading, you should have a .jar file for each mod.
Step 4: Locate the Minecraft Mods Folder
Before placing the mod files, find the mods folder in your Minecraft directory:
- Windows: Press
Win + R, type%appdata%\.minecraft\, and hit enter. - Mac: Open Finder, click
Go -> Go to Folder, type~/Library/Application Support/minecraft, and press enter. - Linux: Navigate to
~/.minecraft/.
Inside the .minecraft folder, you should see a mods folder. If it doesn’t exist, create a new folder and name it mods.
Step 5: Install Mods
- Move the downloaded
.jarfiles into the mods folder. - Close all open windows.
- Launch Minecraft with Forge or Fabric.
- Go to Mods in the main menu to check if the mods are installed.
Step 6: Play and Test the Mods
After installation, start playing Minecraft to test if the mods work correctly. If the game crashes, remove mods one by one to identify the issue.
Common Issues and Troubleshooting
Game Crashing After Installing Mods
- Ensure the mod is compatible with your game version.
- Check if the required dependencies (e.g., APIs) are installed.
- Remove conflicting mods.
Mods Not Showing Up in the Game
- Verify that mods are placed in the correct
modsfolder. - Make sure you are launching Minecraft with the correct mod loader.
- Restart the game after installing mods.
Game Running Slow After Installing Mods
- Reduce graphic settings.
- Allocate more RAM in Minecraft launcher settings.
- Avoid using too many mods at once.
Best Mods to Try in 2025
If you’re new to Minecraft modding, here are some of the best mods to try:
- OptiFine – Enhances graphics and boosts FPS.
- JourneyMap – Adds a real-time map.
- Tinkers’ Construct – Expands crafting mechanics.
- Biomes O’ Plenty – Adds diverse new biomes.
- Just Enough Items (JEI) – Displays all craftable items.
Conclusion
Installing Minecraft mods is a fantastic way to enhance your gaming experience. By following this guide, you can easily install and manage mods to create a customized Minecraft world. Make sure to use the right mod loader, download mods from trusted sources, and troubleshoot issues as needed.
Happy modding and enjoy your new Minecraft adventures!